
How to Use CGM Device
How to Use a CGM Device: A Step-by-Step Guide
CGM technology is a fantastic system that keeps an eye on your glucose levels around the clock. It involves a tiny sensor inserted under your skin, a transmitter that beams information to a display screen, and either an app or receiver for instant updates. Unlike the old-fashioned finger pricks, CGM gives you constant information, so you can track how your glucose levels change throughout the day.
How to Use a CGM Device?
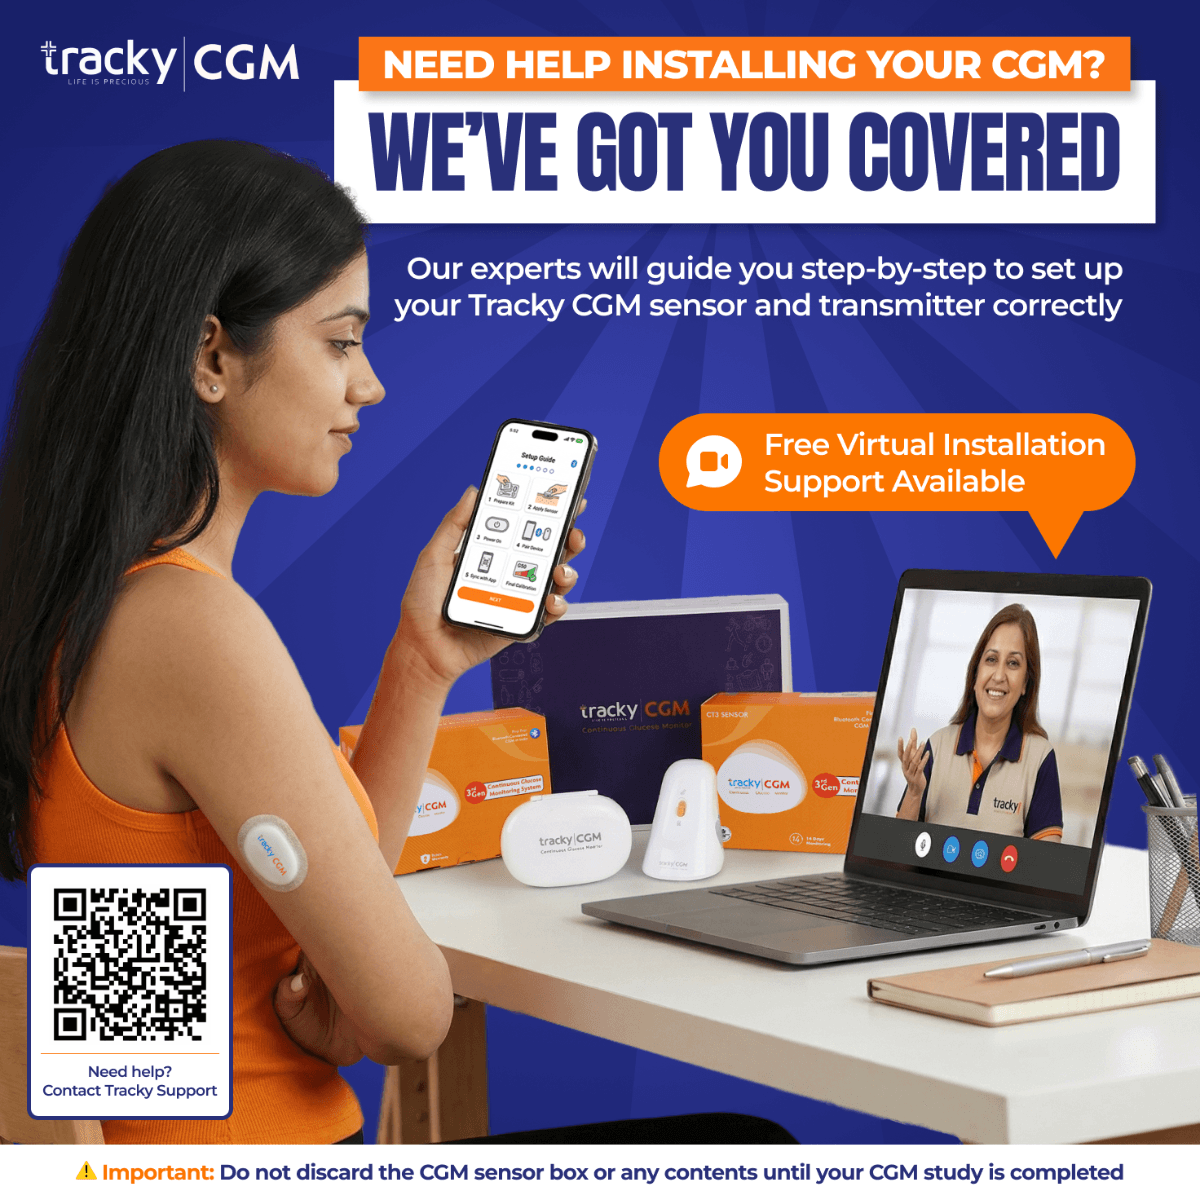
To use a CGM device, you'll need to follow three simple steps: inserting the sensor, attaching the transmitter, and connecting it to a display device or app. Here's a step-by-step guide:
1. Choose the Right Spot:
- Pick a comfortable area on your body such as the back of the upper arm or abdomen.
- Make sure the site is clean and free of lotions or oils for better adhesion.
2. How to Insert the Continuous Glucose Monitor:
- Take the sensor out of the packaging and load it into the applicator.
- Place the applicator against your chosen spot and press firmly to insert the filament under your skin. This filament measures glucose levels in your fluid.
- After insertion, press the adhesive around the sensor to keep it in place.
3. Attaching the Transmitter:
- Simply snap the transmitter onto the sensor. This step allows for data to be sent to either your CGM display device or app.
- Be sure to follow the pairing instructions on your device to ensure smooth communication between the sensor and your chosen device.
4. Calibration (if needed):
- If your CGM device calls for calibration, you may need to use a blood glucose meter for accurate results.
- Just follow the directions provided to ensure the best performance of your device.
Best Practices for Applying a CGM Sensor
- Switch up where you put the sensor: Remember to change the application sites regularly to avoid irritating your skin.
- Make sure the area is dry: Before putting on the sensor, make sure the site is completely dry for better adhesion.
- Consider using adhesive patches: If you tend to sweat or are always on the move, adhesive patches can help keep the sensor in place.
- Watch out for pressure:Avoid placing the sensor in spots that might rub against tight clothing or cause discomfort.
Conclusion
Understanding how to use a CGM device properly will make managing your glucose levels a breeze! From understanding how a continuous glucose monitor is inserted or following best practices for applying a CGM sensor, these steps will help you effortlessly and easily manage your glucose levels
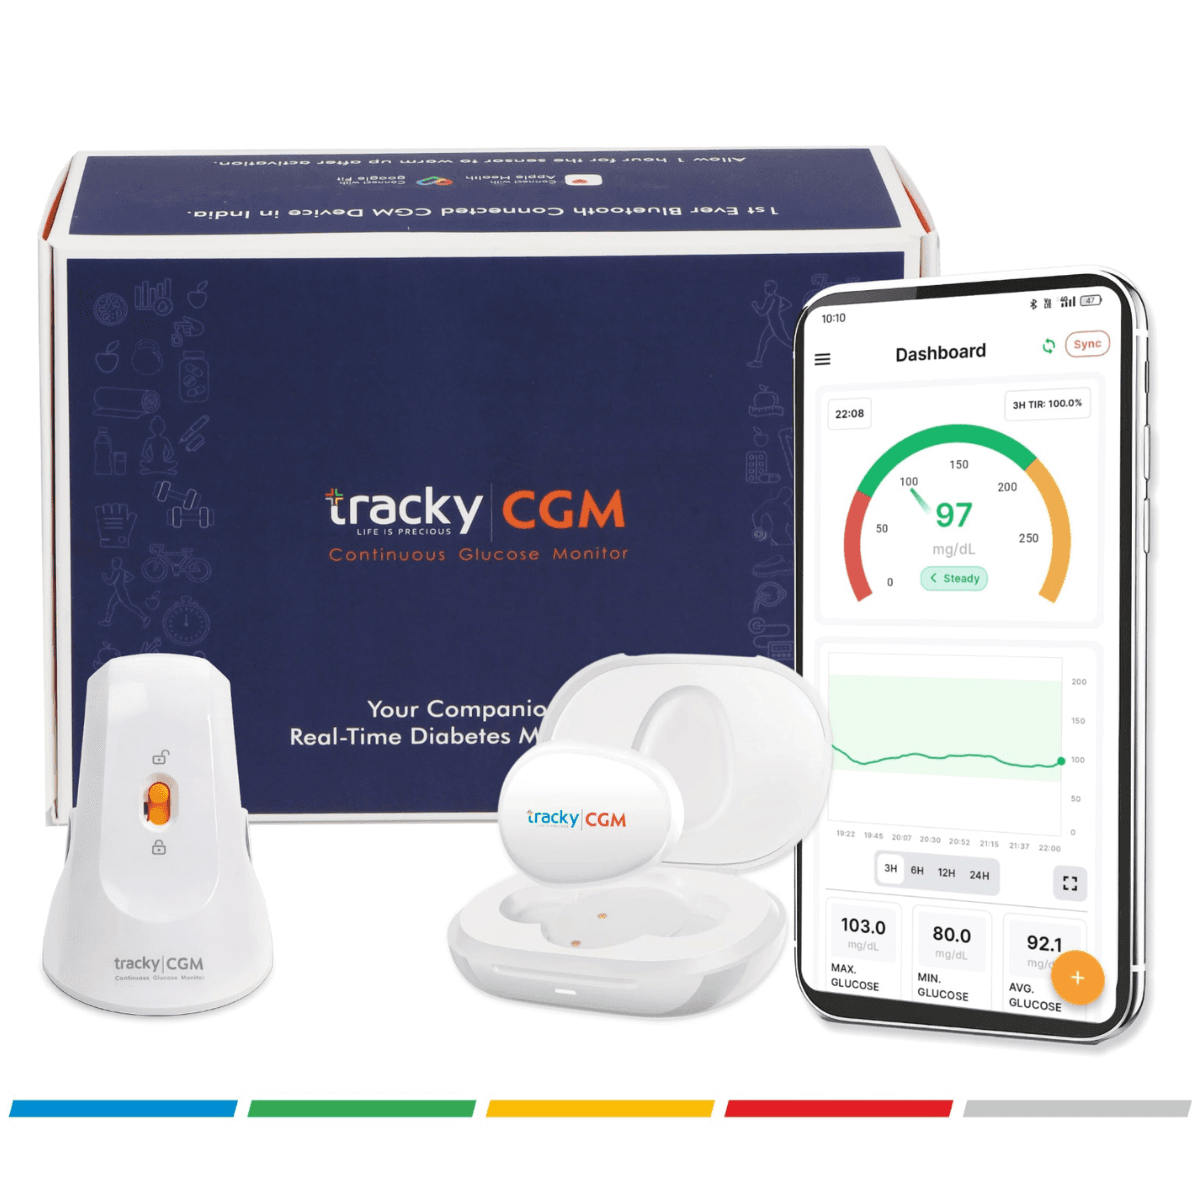
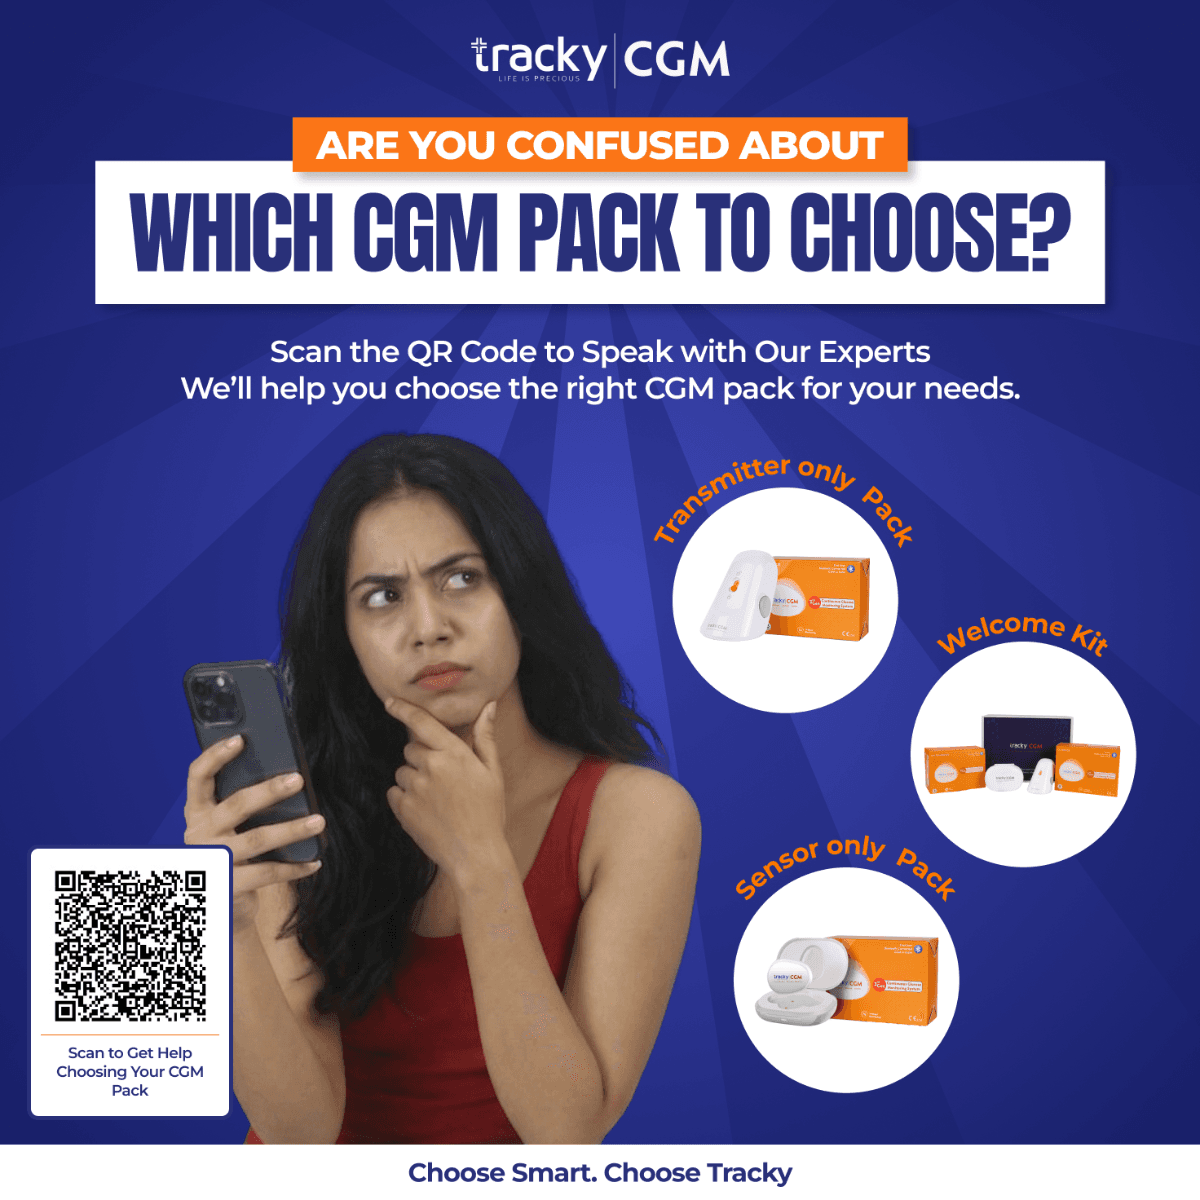
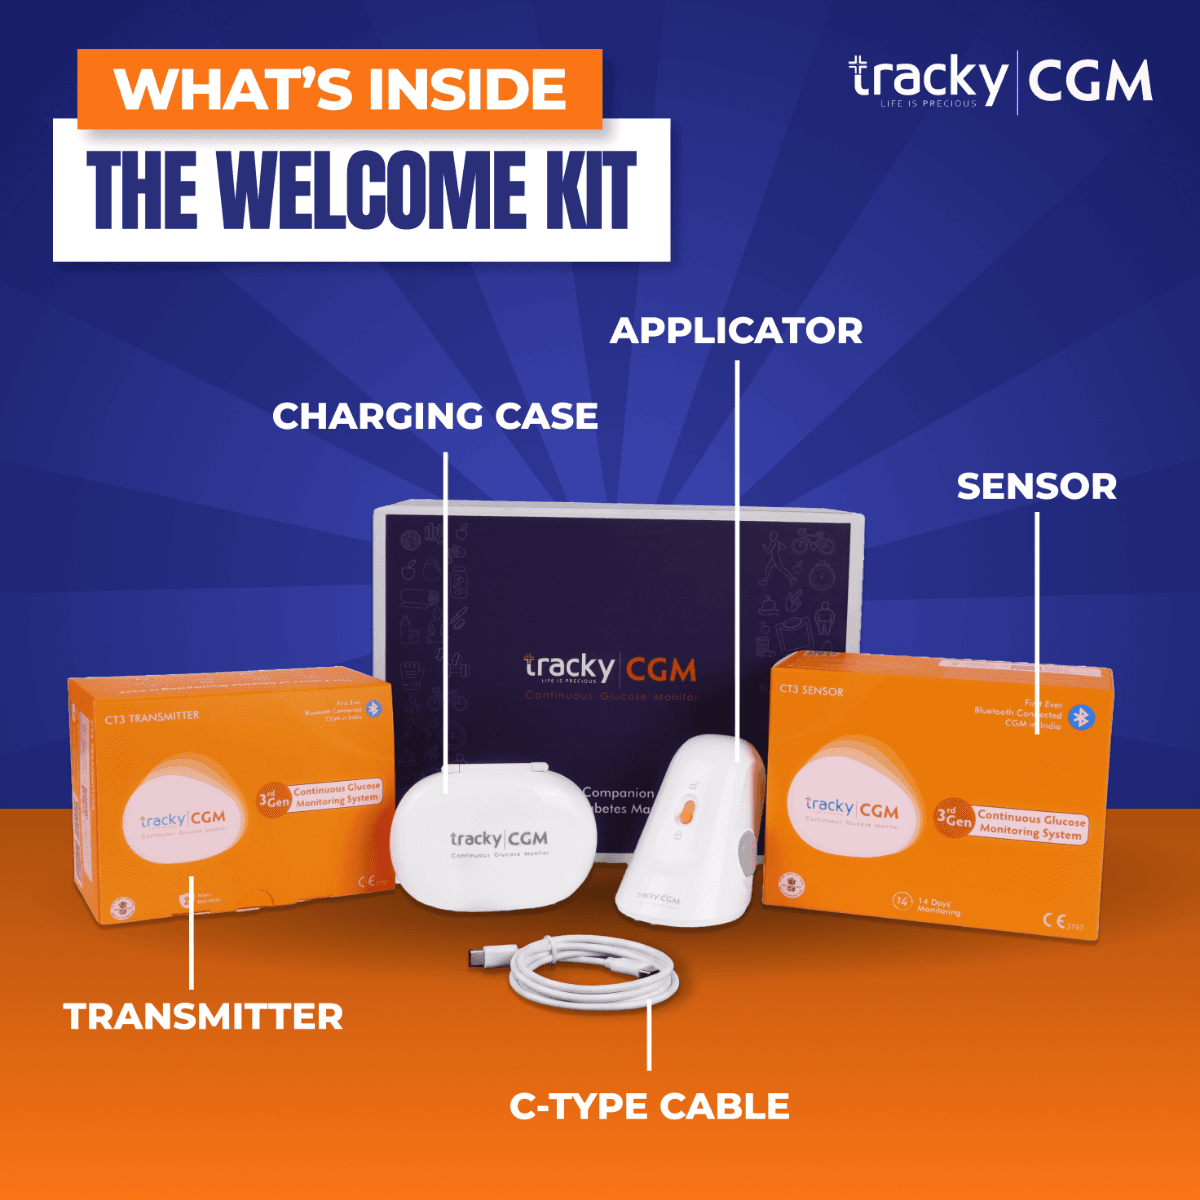

Tracky CGM - Welcome kit
Understand the Core Elements of Tracky CGM
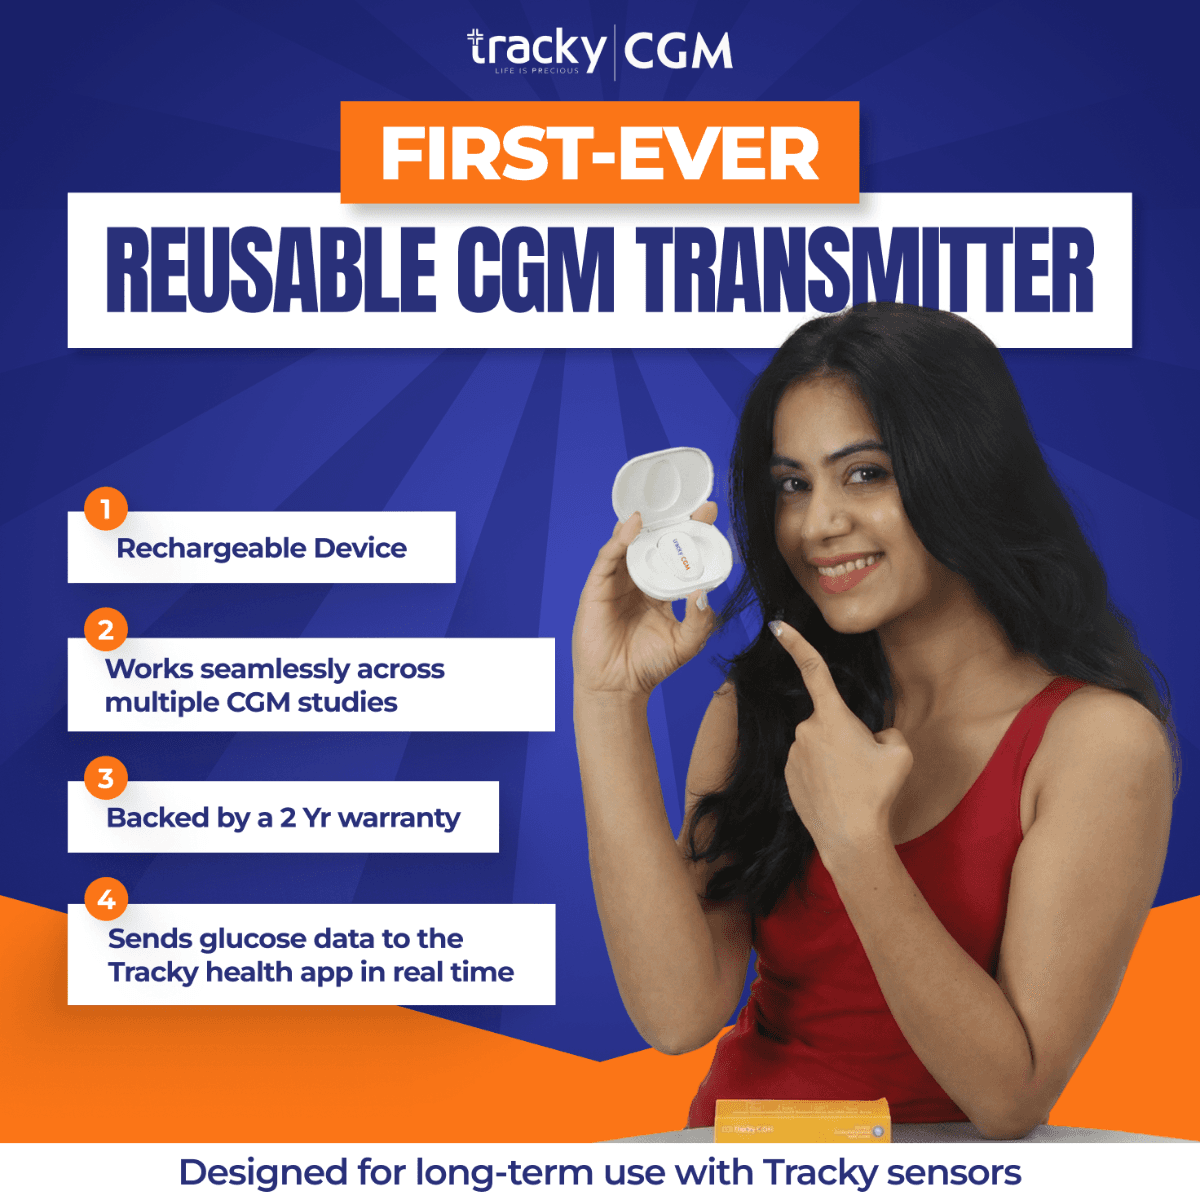
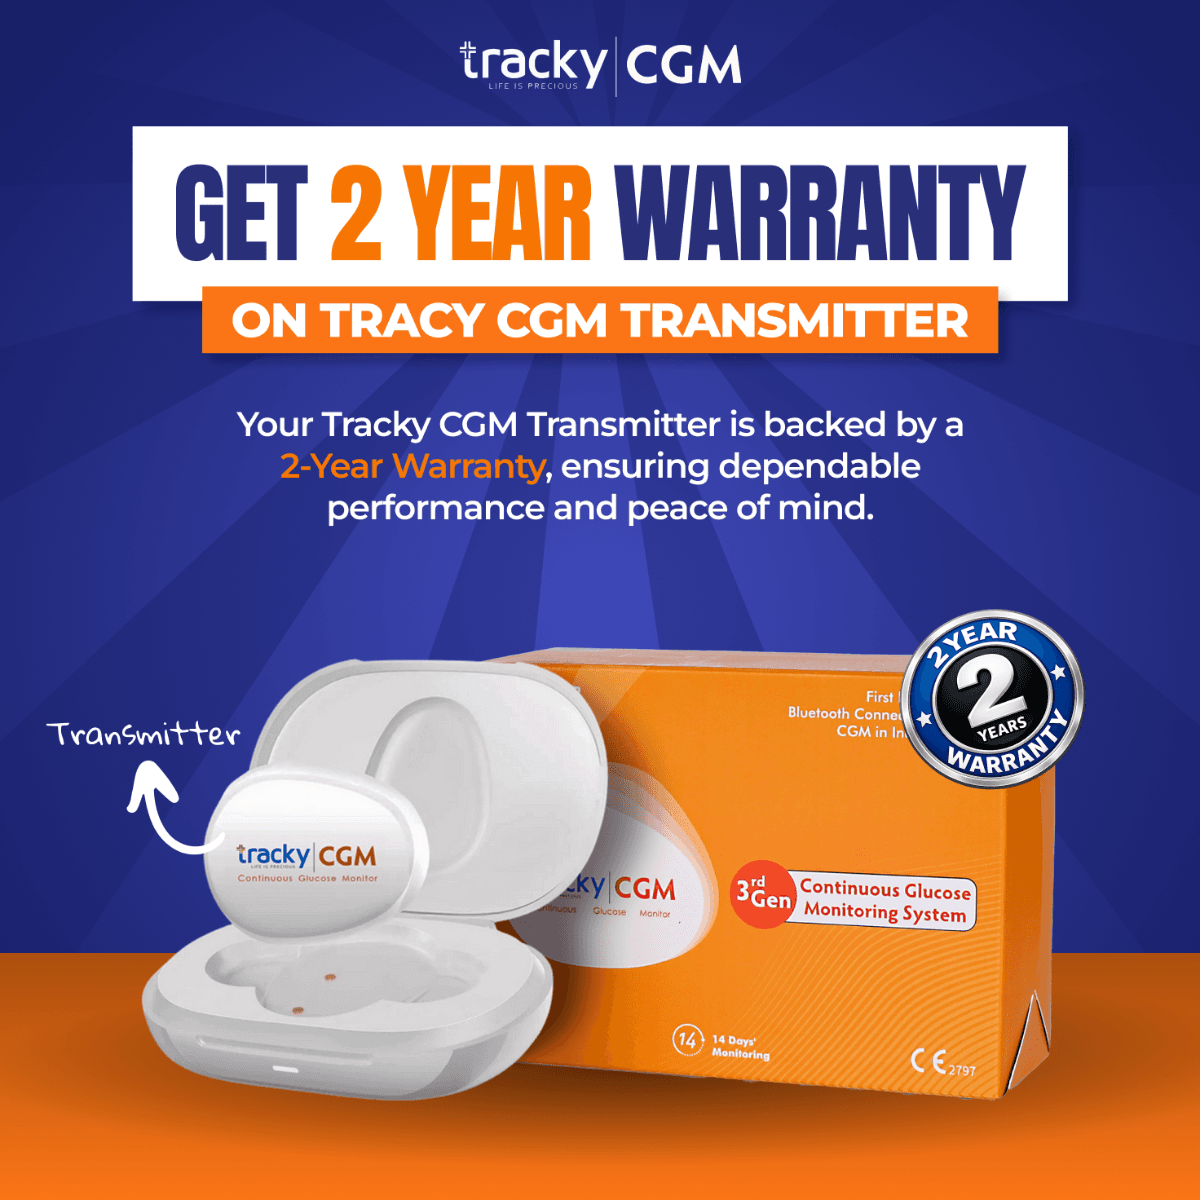
Transmitter
- Rechargeable with a warranty of 2 years.
- Single charge for 14 days.
- Fast charging
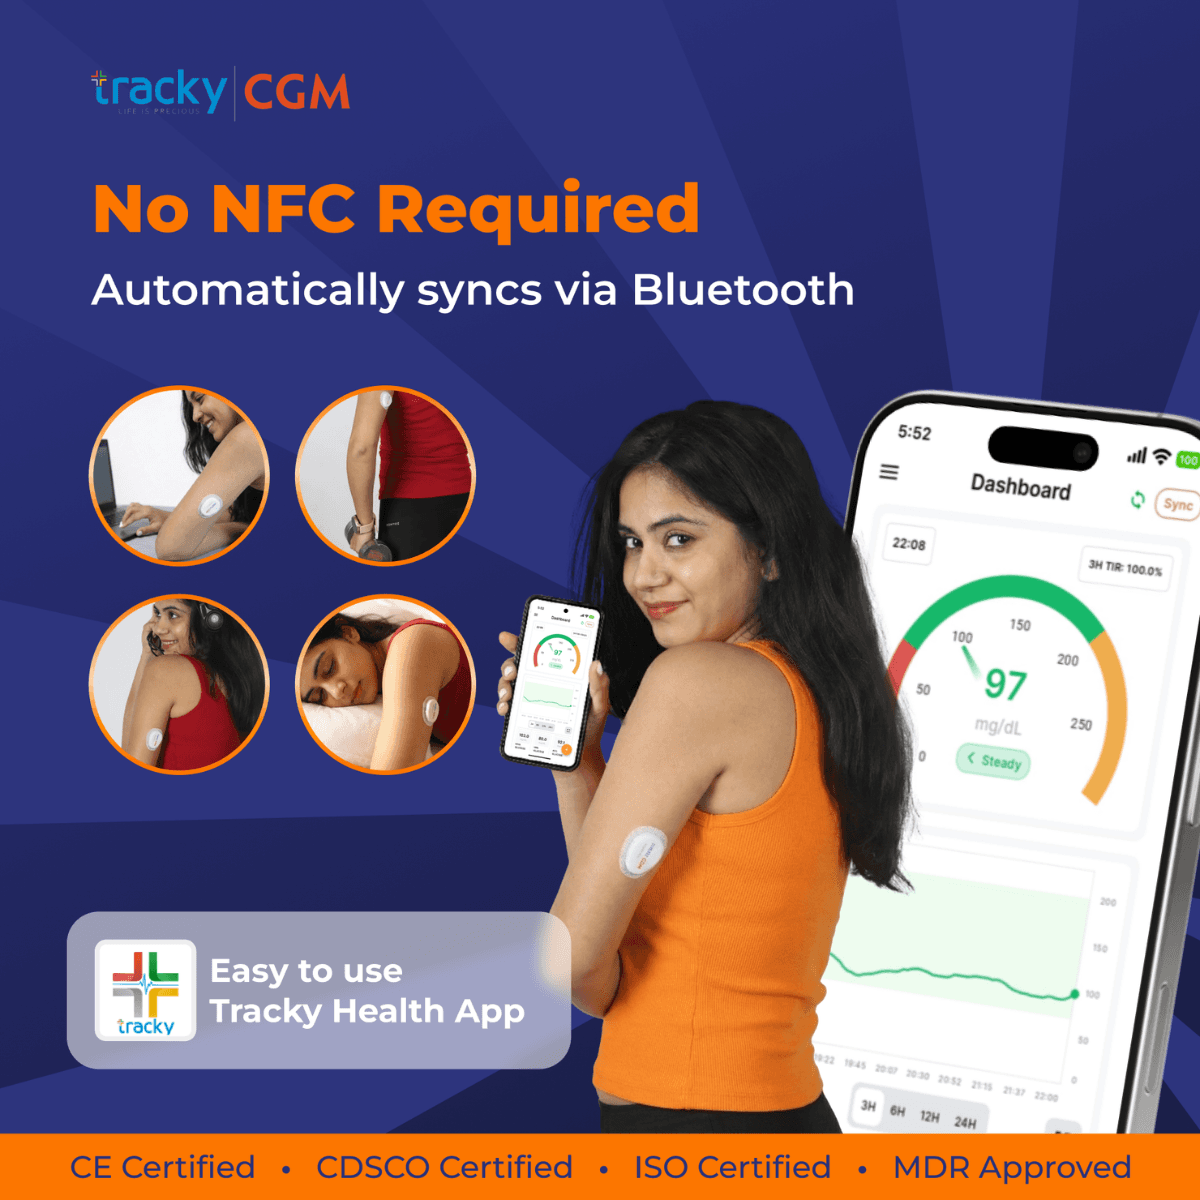
- Bluetooth range of 6 meters for real-time data transmission.
- Compact, lightweight, waterproof, and dustproof.
- No calibration required.

Sensor
- Ergonomically designed for painless implantation.
- Comes with a safety lock for secure handling
- Provides continuous glucose monitoring for 14 days.
- Capable of measuring glucose levels within a range of 30.63 - 500 mg/dl
- Shelf life of 1 year.

Let’s Get Started
Knowledge hub for Tracky CGM
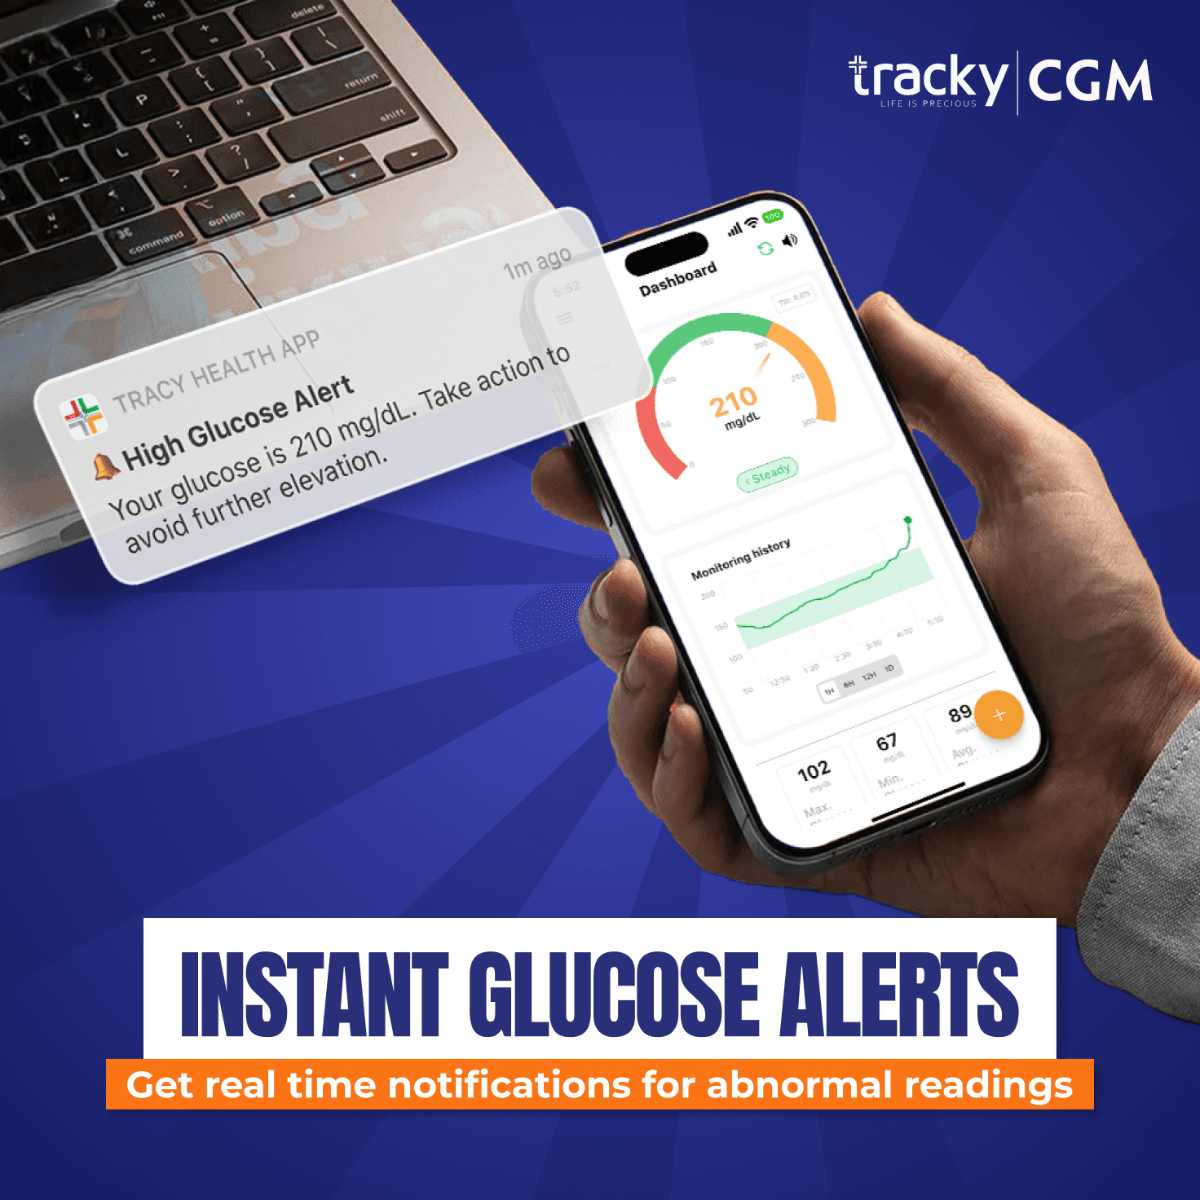
Tracky CGM is a state-of-the-art technology designed to revolutionize diabetes management. It provides real-time readings every 3 minutes of blood glucose levels throughout the day and night, ensuring continuous monitoring. These advanced devices empower individuals with diabetes by delivering detailed and actionable data to guide treatment decisions, helping to achieve better health outcomes.


Download the Tracky Heath App from the links below


